Table of Contents
- Step 1: Create Your Voluum Account
- Step 2: Add Your Traffic Source
- Step 3: Create Your First Campaign
- Step 4: Add a Landing Page
- Step 5: Add Your Offer
- Step 6: Get Your Tracking Link
- Step 7: Place Your Pixel or Postback
- Step 8: Test Your Tracking
- Step 9: View Reports and Analytics
- Step 10: Optimize with AI Traffic Distribution
- Frequently Asked Questions
Step 1: Create Your Voluum Account
Setting up Voluum starts with creating your account. The process is straightforward and takes less than two minutes. Voluum offers a 14-day free trial with full access to all features, so you can explore everything before committing to a paid plan. No credit card is required to get started, making it risk-free for beginners who want to evaluate the platform.
To begin, navigate to the Voluum website and click the "Start Free Trial" button. You will be prompted to enter your email address, create a password, and provide some basic information about your business or affiliate marketing experience. Voluum supports affiliate marketers, media buyers, agencies, and e-commerce businesses, so the signup flow adapts slightly based on your selected use case.
After verifying your email, you will gain access to the Voluum dashboard. The dashboard is where all the magic happens. It provides a centralized view of your campaigns, traffic sources, offers, and performance data. Take a few minutes to familiarize yourself with the interface. The left sidebar contains the main navigation menu with sections for Campaigns, Traffic Sources, Offers, Landers, and Reports. The top bar displays your current plan, event usage, and quick-access buttons.
During the initial setup wizard, Voluum may ask you to select your primary vertical (e.g., nutra, finance, e-commerce, sweepstakes) and your preferred traffic sources. This helps the platform pre-configure some settings and provide relevant templates. Even if you are not sure yet, you can skip this step and configure everything manually later. The flexibility of Voluum is one of its greatest strengths, allowing you to adapt the platform to any workflow.
Account Configuration Best Practices
Once inside the dashboard, head to the Settings section to configure your account preferences. Enable two-factor authentication (2FA) immediately for security. Set your timezone correctly, as all reports will be based on this setting. Configure your currency preference so revenue and cost data are displayed in your preferred format. You should also set up notification preferences for campaign alerts, budget limits, and conversion milestones.
Step 2: Add Your Traffic Source
A traffic source represents the platform where you buy or generate traffic, such as Facebook Ads, Google Ads, Taboola, Outbrain, PropellerAds, or any native advertising network. Adding your traffic source to Voluum is critical because it enables the tracker to capture cost data and pass back relevant parameters from the ad platform to your campaigns.
To add a traffic source, navigate to the Traffic Sources tab in the left sidebar and click "New Traffic Source." Voluum has a library of over 70 pre-configured traffic source templates, which means you can simply search for your platform and select it. Popular options include Facebook Ads, Google Ads, TikTok Ads, MGID, Revcontent, PopAds, and many others. When you select a pre-configured source, Voluum automatically maps the correct macros for click ID, cost, and other parameters.
If your traffic source is not in the pre-configured list, you can create a custom traffic source. You will need to enter the source name, pass the necessary macros (such as {clickid}, {cost}, {campaignid}), and define the parameter structure. This is a more advanced step, but Voluum provides clear documentation for custom setups. Most beginners will find their traffic source already available in the template library.
Understanding Traffic Source Parameters
Each traffic source passes different parameters through its tracking links. The most important parameters include the click ID (used for attribution), the cost per click (for ROI calculation), the campaign ID, the creative ID, and the placement ID. Voluum's pre-configured templates handle all of this automatically. The platform translates these parameters into its own internal format, ensuring that your data is consistent regardless of which traffic source you use.
For multi-source campaigns, you can add multiple traffic sources and compare performance across them within a single Voluum campaign. This cross-source comparison is one of the most powerful features for media buyers who run traffic on several platforms simultaneously. You can see which traffic source delivers the best ROI, conversion rate, and cost per acquisition at a glance.
Ready to set up your first campaign? Start Your 14-Day Free Trial →
Step 3: Create Your First Campaign
Creating a campaign in Voluum is where everything comes together. Your campaign is the central entity that connects your traffic source, landing pages, and offers into a single trackable funnel. To create a campaign, navigate to the Campaigns tab and click "New Campaign." Voluum will present you with several campaign types to choose from.
The most common campaign types include Simple Campaign (direct link to offer), Campaign with Landing Page (traffic goes to a lander first, then to the offer), and Custom Flow Campaign (multi-step funnels with multiple landers and offers). For beginners, starting with a "Campaign with Landing Page" is recommended, as it covers the most common affiliate marketing scenario.
Campaign Configuration Details
When configuring your campaign, you will need to fill in the following fields. First, name your campaign descriptively, such as "FB-US-Nutra-Diet-Q1-2026" to make it easy to identify in reports. Select the traffic source you added in Step 2 from the dropdown menu. Choose the campaign type based on your funnel structure. Set your cost model (CPM, CPC, or CPA) and enter your default bid value if known.
Next, configure the tracking domain. Voluum allows you to use your own custom domain for tracking links, which looks more professional and helps with ad approval rates. You can add a custom domain in the Settings section by pointing a CNAME or A record to Voluum's servers. Once verified, your tracking links will use your branded domain instead of Voluum's default domain. This step is highly recommended for serious affiliate marketers and media buyers.
Set up Auto-Rules if you want Voluum to automatically optimize your campaign based on performance conditions. For example, you can create a rule that disables any traffic source zone that spends more than $5 without generating a conversion. Auto-Rules are available on all Voluum plans and are incredibly powerful for hands-off optimization. You can also enable the AI Traffic Distribution feature, which uses machine learning to automatically shift traffic toward your best-performing landing pages and offers.
Step 4: Add a Landing Page
If your campaign includes a landing page (also called a lander or pre-landing page), you need to add it to Voluum so the tracker can monitor its performance. Navigate to the Landers tab and click "New Lander." Enter a name for your landing page, paste the full URL where the landing page is hosted, and optionally add a monitor link to check if the page is live.
Voluum tracks key landing page metrics including visit count, bounce rate, time on page, and click-through rate (CTR) to the offer. These metrics are essential for understanding how well your landing page converts visitors. If you are running A/B tests with multiple landing page variations, you can add each variation as a separate lander in Voluum and let the AI Traffic Distribution feature automatically send more traffic to the best-performing variation.
For advanced users, Voluum also supports landing page scripts that you can embed on your page to pass dynamic data, such as the visitor's country, device type, or traffic source. This enables dynamic content personalization on your landing pages. Additionally, you can set up a lander redirect, which automatically redirects users who do not click through to the offer to a secondary URL after a specified time period.
Landing Page Best Practices
When adding landing pages to Voluum, follow these best practices for optimal tracking accuracy. Always use the Voluum landing page URL (the one Voluum generates after you add your lander) as the destination URL in your traffic source campaign. This ensures that every visitor is tracked through Voluum before reaching your landing page. Make sure your landing page loads quickly, as slow load times negatively impact conversion rates and may cause tracking discrepancies. Test your landing page on multiple devices and browsers before launching your campaign.
Step 5: Add Your Offer
The offer is the final destination in your funnel, where the conversion happens. It could be an affiliate offer from a network like ClickBank, JVZoo, MaxBounty, or a direct advertiser offer. To add an offer, go to the Offers tab and click "New Offer." Enter the offer name, paste the offer URL, and select the affiliate network if applicable.
Voluum supports a wide range of offer types, including standard offers, smart links, and offer rotators. For standard offers, you simply paste the direct offer URL. For smart links (where the affiliate network automatically selects the best offer for each visitor), you paste the smart link URL. Offer rotators allow you to add multiple offers to a single campaign and distribute traffic among them based on rules or automatic optimization.
One of the most important aspects of adding an offer is setting up the conversion tracking. Voluum uses server-to-server (S2S) postback URLs to record conversions. When a user completes a conversion on the offer page, the affiliate network sends a postback to Voluum, which records the conversion and attributes it to the correct click. This method is far more reliable than pixel-based tracking and works across all browsers, including those with cookie restrictions.
Step 6: Get Your Tracking Link
After configuring your campaign, traffic source, landing page, and offer, Voluum generates a unique tracking link for your campaign. This is the URL you will use as the destination URL in your traffic source's ad campaign. The tracking link contains all the necessary parameters to track clicks, costs, and conversions accurately.
Your Voluum tracking link typically looks something like this: https://yourdomain.com/click/xxxxxxxx-xxxx-xxxx-xxxx-xxxxxxxxxxxx. Each campaign receives a unique identifier. You can also append custom parameters to the tracking link to pass additional data from your traffic source, such as the creative ID, ad set ID, or keyword. Voluum automatically captures these parameters if they are configured in your traffic source template.
Tracking Link Tokens and Macros
Voluum uses a token system to pass dynamic values through tracking links. Common tokens include {campaignid}, {traffic_source.name}, {lander.id}, {offer.id}, and {cost}. These tokens are replaced with actual values when a visitor clicks the link. You can use these tokens in your offer URLs to pass sub-ID information to your affiliate network, enabling more granular reporting on the network side.
Always test your tracking link by clicking it yourself and verifying that it correctly redirects through Voluum, to your landing page, and then to your offer. Check the Voluum reports to confirm that the click was recorded with all the correct parameters. If any data is missing, double-check your traffic source configuration and macro setup.
Start Tracking with Voluum Today
14-day free trial. No credit card required. Full access to all features.
Start Free Trial →Step 7: Place Your Pixel or Postback
Conversion tracking is the backbone of any successful campaign. Without accurate conversion data, you cannot measure ROI, optimize performance, or scale profitable campaigns. Voluum supports two primary methods of conversion tracking: pixel-based tracking and server-to-server (S2S) postback tracking.
For postback tracking (recommended), you need to configure the postback URL in your affiliate network. Voluum generates a unique postback URL for each offer. You copy this URL and paste it into your affiliate network's postback or global postback settings. The postback URL typically includes a placeholder for the click ID, such as &cid={{clickid}}. When the affiliate network fires the postback, Voluum receives the click ID and records the conversion against the corresponding visit.
For pixel-based tracking (less reliable but simpler for some setups), Voluum generates a JavaScript or image pixel that you place on the conversion thank-you page. When the page loads, the pixel fires and records the conversion. However, pixel-based tracking can be blocked by ad blockers, browser privacy settings, and cookie restrictions. Server-to-server postback tracking is always the preferred method because it bypasses browser-level restrictions and provides the most accurate data.
Testing Your Conversion Tracking
After setting up your postback, test it by simulating a conversion. You can do this by clicking your tracking link, completing the conversion action on the offer page, and then checking the Voluum reports to see if the conversion was recorded. Some affiliate networks provide a postback testing tool in their dashboard. If the conversion does not appear in Voluum, verify that the postback URL is correctly configured and that the click ID placeholder matches the network's macro format. Common issues include incorrect macro names, missing parameters, and URL encoding problems.
Step 8: Test Your Tracking
Testing your tracking setup is arguably the most critical step in the entire process. Launching a campaign without thorough testing can result in lost data, inaccurate reporting, and wasted ad spend. A comprehensive testing checklist covers every component of your tracking funnel.
Start by clicking your tracking link and verifying the following. The click should appear in Voluum's real-time reports within seconds. Check that the traffic source name, campaign ID, and cost parameters are correctly recorded. Verify that the visitor is redirected to the correct landing page. Click through the landing page and confirm the redirect to the offer URL works properly. Finally, simulate a conversion and ensure it appears in Voluum's conversion reports with the correct revenue amount and sub-ID data.
Common Testing Issues and Solutions
If clicks are not appearing in Voluum, check that you are using the correct tracking link and that your traffic source is properly configured. If the landing page is not loading, verify the lander URL and ensure your hosting is active. If conversions are not being recorded, review your postback configuration and test the postback URL using a tool like Postman or your browser's developer tools. If cost data is missing, ensure your traffic source template includes the cost parameter and that it is properly mapped in Voluum.
Voluum also provides a built-in tracking diagnostic tool that helps identify common issues. Navigate to the Campaign settings and look for the "Test" or "Diagnose" option. This tool will walk you through each step of the tracking chain and highlight any problems. For advanced debugging, you can use browser extensions like the Voluum Helper or third-party tools to inspect redirect chains and verify parameter passing.
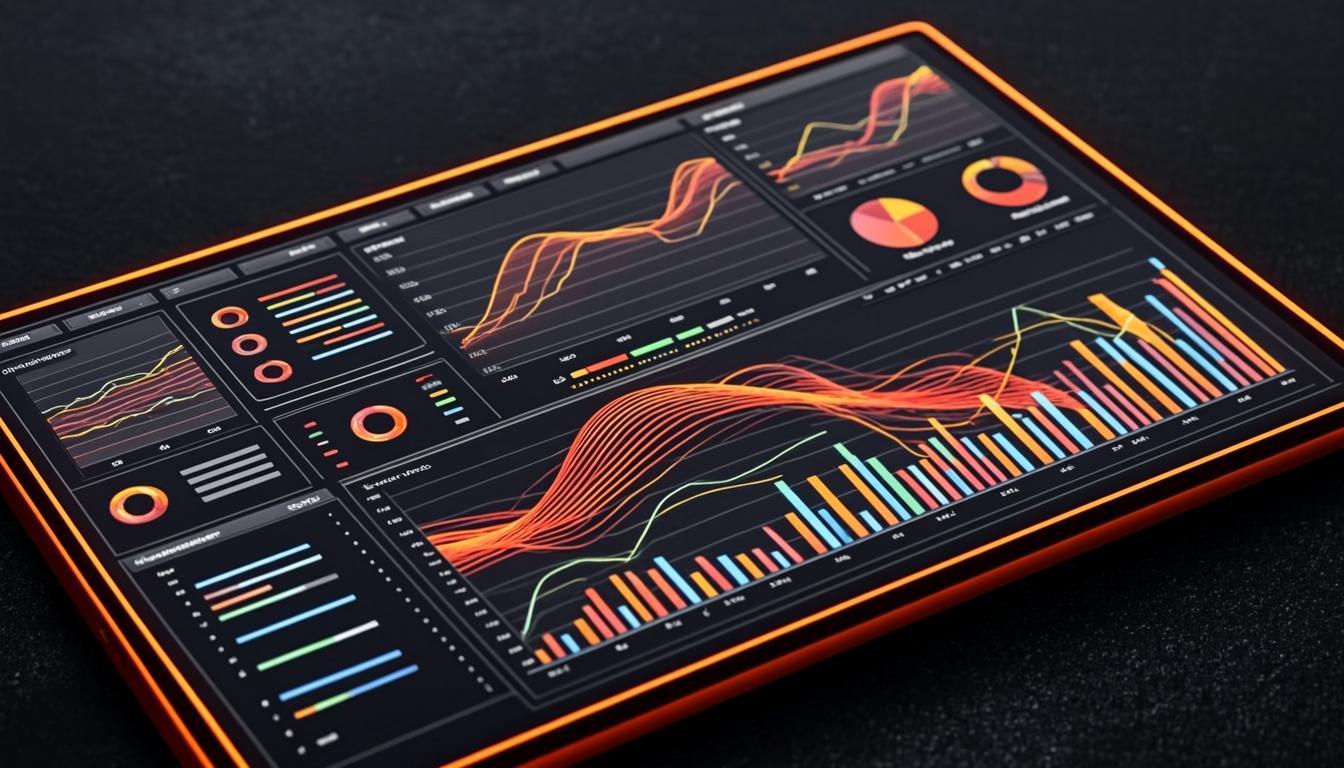
Step 9: View Reports and Analytics
Once your campaign is live and tracking is confirmed, Voluum's reporting suite becomes your most valuable tool. The Reports section provides a comprehensive view of your campaign performance, including clicks, conversions, revenue, cost, profit, ROI, EPC, CTR, and CR. You can slice and dice your data by virtually any dimension, including traffic source, campaign, landing page, offer, country, device, browser, operating system, carrier, and connection type.
The main dashboard gives you a high-level overview of all active campaigns with key performance indicators. You can customize the dashboard to display the metrics that matter most to you. The detailed reports section allows you to drill down into individual campaigns and analyze performance at the granular level. Voluum supports both real-time reporting (with minimal delay) and historical reporting for trend analysis.
One of the standout features of Voluum's reporting is the Auto-Optimization report, which highlights areas where AI Traffic Distribution has improved performance. This report shows you exactly how much additional revenue or profit was generated by the AI, giving you clear evidence of the platform's value. You can also create custom reports, set up automated email reports, and export data in CSV format for further analysis in spreadsheets or business intelligence tools.
Key Metrics to Monitor
When analyzing your Voluum reports, focus on these critical metrics. ROI (Return on Investment) tells you how much profit you are making relative to your ad spend. A positive ROI means your campaign is profitable. EPC (Earnings Per Click) shows the average revenue generated per click, helping you quickly assess campaign quality. CR (Conversion Rate) indicates the percentage of visitors who convert, which is essential for evaluating your landing page and offer performance. CPA (Cost Per Acquisition) shows how much you spend to acquire each conversion, which should be lower than your payout for profitability. CTR (Click-Through Rate) on your landing page measures how effectively your lander drives visitors to the offer.
Step 10: Optimize with AI Traffic Distribution
Voluum's AI Traffic Distribution is a proprietary machine learning system that automatically optimizes your campaign by shifting traffic toward your best-performing landing pages and offers. This feature is available on all Voluum plans and is one of the platform's most compelling advantages over competitors.
To enable AI Traffic Distribution, navigate to your campaign settings and toggle the AI optimization switch. You can choose to optimize based on conversions, revenue, or profit. The AI system will begin learning from your campaign data within the first few hours of activation. After an initial learning phase (typically 50-100 conversions), the AI will start making automated traffic allocation decisions.
The AI considers multiple factors when making optimization decisions, including conversion rates by landing page and offer, revenue per visitor, geographic performance, device-level performance, and time-of-day patterns. It continuously monitors these factors and adjusts traffic distribution in real-time, ensuring that your campaign is always performing at its best. This level of automated optimization would require a dedicated team of media buyers to replicate manually.
Combining AI with Auto-Rules
For maximum optimization, combine AI Traffic Distribution with Voluum's Auto-Rules feature. While the AI handles traffic allocation, Auto-Rules handle budget management and campaign-level decisions. For example, you can set up a rule that pauses a campaign if it spends more than your daily budget, or a rule that sends an alert when a traffic source zone's CPA exceeds a certain threshold. Together, AI and Auto-Rules create a powerful, hands-off optimization engine that works around the clock.
Additionally, use the Anti-Fraud Kit to protect your campaigns from invalid traffic. Voluum's fraud detection system identifies and blocks bots, click farms, and other fraudulent activity, ensuring that your optimization decisions are based on genuine user data. The Anti-Fraud Kit uses advanced algorithms to analyze click patterns, IP addresses, device fingerprints, and behavioral signals to distinguish real users from fraudsters. This protection is included with all Voluum plans at no additional cost.